
Published · Last updated
Small Wine Cellar Cooling Units: Closets, Under-Stairs Spaces, and Small Rooms
What changes when a wine cellar is small: why construction drives heat load, how to convert a closet step by step, and when one cooling unit is the right fit.
Who this guide is for
Homeowners turning a closet, an under-stairs space, or a small room into a wine cellar, with a conditioned room on the other side of one interior wall.
Who this guide is not for
Cabinets and furniture-style coolers, closets whose only usable wall is exterior, and spaces that open into a sealed or unventilated cavity on the warm side.
A small wine cellar cooling unit is sized by the room's heat load, not by its size alone, and in a small wine room that load is set mostly by how the space is built: insulation, vapor barrier, door seal, and what sits on the other side of the wall. A well-built 100 cubic foot space asks very little of a cooling unit. A leaky one of the same size can ask as much as a much larger room that was built properly.
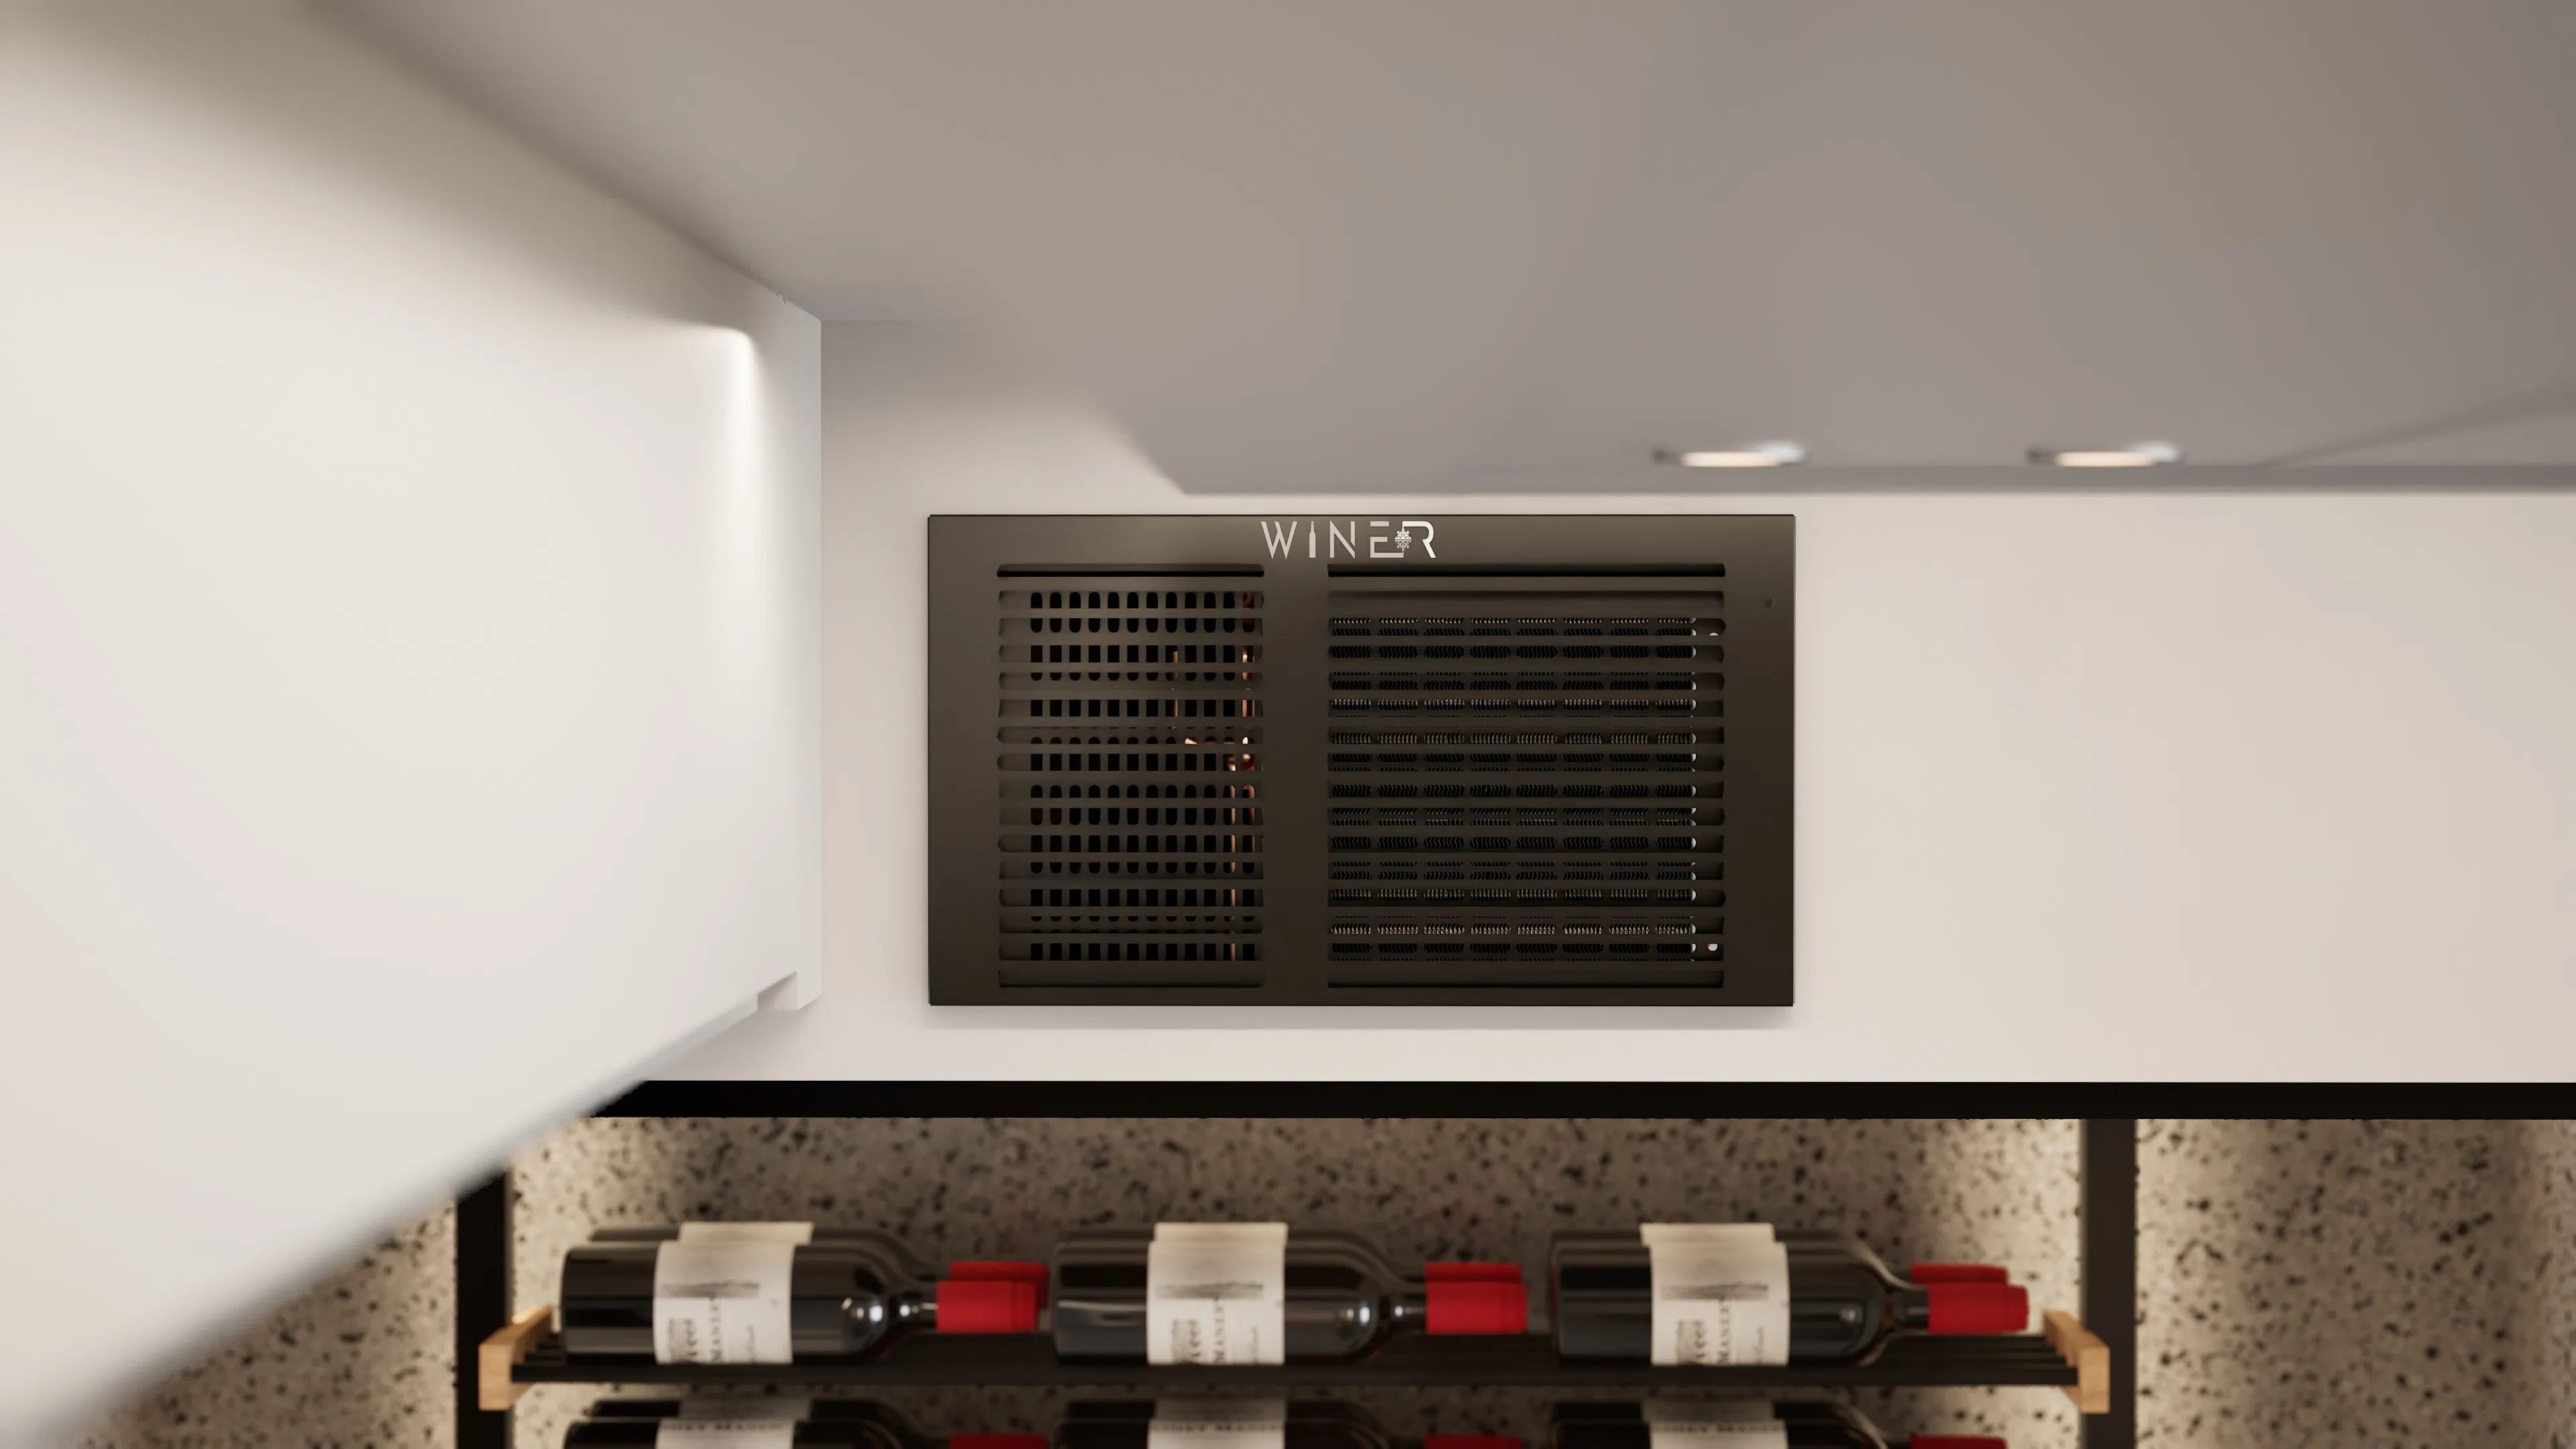
That is the main thing that changes when the space is small. Volume becomes a weak predictor, and construction becomes the strong one. A self-contained through-the-wall unit such as the WR2500, rated for rooms from 50 ft³ up to 900 cubic feet fully enclosed or 700 cubic feet with glass walls, covers most small wine rooms comfortably on volume. The construction requirements still apply in full: R-20 insulation on walls and floor, a continuous sealed vapor barrier, an interior wall with a conditioned room on the warm side, at least 12 inches of clearance on the cellar side and 18 inches on the warm side, a drain line, and a dedicated 115V/60Hz/15A circuit. This guide covers why small spaces behave differently, how to convert a closet step by step, and how to tell whether your space is a good fit before you buy.
Why small spaces behave differently
In a large wine room, volume does a lot of the work in a sizing estimate. In a small wine room, it barely registers. What drives the load instead is surface area relative to volume, and how much air gets in.
A small room has a lot of wall, floor, and ceiling for the amount of air it holds. Every square foot of under-insulated surface lets heat in, and in a small wine room that surface is close to everything. A gap under the door that would be a minor issue in a large room becomes a constant source of warm, humid air in a space this size. The same goes for an unsealed outlet, a light box, or a bare concrete floor.
This is why two spaces of the same dimensions can need very different things from a cooling unit. Older spaces were rarely built with a cellar in mind, so they usually start with standard interior walls, a hollow door, and no vapor barrier. None of that is unusual, and all of it is straightforward to fix during the conversion.
Small does not mean any unit will do
Two sizing mistakes show up in small spaces, and they point in opposite directions.
Underestimating the load. A small number on the tape measure makes it tempting to skip the heat-load calculation. If the room is not insulated and sealed, the actual load can exceed what a unit can remove, and the symptoms look like an equipment fault: the unit runs continuously, the temperature drifts upward, and condensation appears.
Treating extra capacity as a safety margin. More capacity than the room needs does not produce better conditions. A unit far larger than the load reaches setpoint quickly and cycles on and off often, which is harder on the equipment and less steady for the room.
The answer to both is the same: calculate the load from the room as built. The BTU calculator takes dimensions, insulation, and glass area and gives you a starting point in about a minute.
Is a small wine cellar a fit? A quick checklist
Before you plan a small wine room around a through-the-wall unit, check these points. If every answer is yes, or can be made yes during construction, the space is a good candidate.
- One interior wall backs onto a conditioned room. A hallway, bedroom, basement living area, or utility room that is heated and cooled. The unit exhausts heat there.
- That wall is not exterior, and the warm side is not a sealed cavity or closed cabinet. Exhausting into a small enclosed space traps heat and leads to shutdowns.
- You can keep 12 inches clear in front of the grille inside the cellar and 18 inches clear in front of the exhaust on the warm side.
- Walls, ceiling, and floor can reach R-20 with a continuous, sealed vapor barrier, including over a concrete slab.
- The door can be replaced or upgraded to an insulated door with tight gaskets and a floor sweep.
- Any glass is double-pane sealed. Single-pane glass is not permitted.
- There is a drain path: a continuous downward slope to a drain, or room for a condensate pump.
- A dedicated 115V/60Hz/15A circuit can be run to a receptacle within reach of the unit's cord, which is about 6 feet.
- The wall is between 5.5 and 14 inches thick at the opening, or can be built out with a framed soffit or extension.
- The space is at least 50 ft³. The WR2500 is rated for rooms from 50 ft³ up; below that it short cycles.
If the only wall available is exterior, or the warm side would be an unventilated space, a through-the-wall unit is the wrong tool, and a ducted or split system sized to the room is the better path.
Common small-cellar scenarios
The volumes below are typical examples. Your own dimensions and construction decide the actual load.
Below the minimum volume. The WR2500 is rated for rooms from 50 ft³ up. In a space smaller than that, the unit reaches setpoint almost immediately and the sensor reads its own discharge air rather than the room, so the unit short cycles. A nearly empty space with little thermal mass makes it worse. Furniture-style cabinets are never a fit for a through-the-wall unit.
How to convert a closet into a wine cellar
A small-space conversion follows the same order as any cellar build. The difference is that every step is smaller, and gaps matter more.
1. Confirm the wall and the warm side
Choose the interior wall where the unit will go, usually the door wall, since the unit often mounts above the door. Confirm the room behind it is conditioned and has open air, with 18 inches clear in front of the exhaust. If the wall is loadbearing, bring in a professional for the opening.
2. Plan the opening
The WR2500 needs a 15 5/8 by 9 1/4 inch opening in a wall 5.5 to 14 inches thick, reinforced with 2x4 blocking. If you are dropping a ceiling or building a soffit above the door, allow about 14 inches for the unit depth and service access. Inside the cellar, keep 12 inches clear in front of the grille, which in a shallow closet means planning racking around the airflow rather than in front of it.
3. Insulate to R-20
Bring walls, ceiling, and floor to R-20 or better. In a small wine room, that often means furring out the existing walls. A concrete floor needs an insulated platform or a thermal break, since bare slab is a common heat and moisture source. The R-20 insulation guide covers the options.
4. Install a continuous vapor barrier
Place the vapor barrier on the warm side of the insulation and seal it at every corner, outlet, light box, pipe penetration, and the door frame. Use acoustic sealant or expanding foam rated for vapor barriers. In a small room, a single unsealed penetration has an outsized effect.
5. Seal the door
Replace a hollow interior door with an insulated door, fit tight gaskets on all sides, and add a floor sweep. Glass in the door must be double-pane sealed. A leaky door is one of the most common reasons a small cellar struggles.
6. Plan the drain path
The drain fitting sits under the unit on the warm side. Run a 3/8 inch ID hose with a continuous downward slope to a drain, with no sags or traps. If the run goes beyond about 5 feet or has to rise, use a condensate pump and have a professional confirm the routing. The drain is not optional, and planning it before the walls close is far easier than adding it afterward.
7. Run dedicated power
Have an electrician run a dedicated 115V/60Hz/15A circuit to a receptacle within reach of the unit's cord, which is about 6 feet. No shared loads, no extension cords, and no switch-controlled outlets. These are warranty conditions, not suggestions.
Once the room is built, seal the unit's perimeter on both sides of the wall so no air, light, or moisture bypasses the chassis. The installation page and the DIY install guide cover mounting and start-up in detail.
What a small cellar still needs that a cooling unit does not provide
A cooling unit holds temperature. It does not control humidity. In a small wine room, humidity comes from the construction: a sealed vapor barrier, a tight door, and a sealed perimeter keep the room in a stable range. If your climate or your space needs active humidity control, plan a separate humidifier or dehumidifier.
Frequently asked questions
It depends on the room's heat load, which in a small space is driven more by insulation, vapor barrier, door seal, and glass than by volume. Use a heat-load calculation with your actual dimensions and construction rather than estimating from cubic feet alone. The WR2500 is rated for rooms from 50 ft³ up.
Yes, when one wall of the space is an interior wall backing onto a conditioned room that can absorb the exhaust heat, and the space is built to R-20 with a continuous vapor barrier and a sealed, insulated door. A closet whose only available wall is exterior is not suitable for a through-the-wall unit.
Yes. The WR2500 requires a drain line: a 3/8 inch ID hose with a continuous downward slope to a drain, or a condensate pump if the run is long or has to rise. Planning the drain path before the walls are closed makes it much simpler.
The WR2500 runs on a dedicated 115V/60Hz/15A circuit, with no shared loads, extension cords, or switch-controlled outlets. That applies to a small wine room the same way it applies to a large wine room.
Not into a closed or unventilated one. Exhausting into a small sealed space traps heat and causes poor cooling and shutdowns. If the warm side is enclosed, it needs vent openings and active ventilation, and the 18 inch clearance in front of the exhaust still applies.
About this information
This content is general information for owners evaluating wine cellar cooling options. It is not a diagnosis of any specific unit and not a recommendation to repair or replace any product. Wine-R is not affiliated with, sponsored by, or endorsed by any other manufacturer referenced on this page. All third-party product names and trademarks are the property of their respective owners and are used for identification and compatibility reference only. Third-party specifications come from publicly available manufacturer information and may change without notice. Compatibility with an existing opening does not by itself confirm suitability: cooling capacity must be validated against the cellar's size and construction, and the WR2500 requires a condensate drain line and a dedicated 115V/60Hz/15A circuit. Fit and sizing are confirmed through Wine-R's pre-validation process before any unit ships.
Liability and warranty considerations
The WR2500 is sold under Wine-R’s Terms of Sale and Limited Warranty. Wine-R’s warranty covers unit parts for two years from the original purchase date.
Warranty coverage is voided by, among other conditions:
- Damage from improper installation, poor insulation, or oversized or unsealed rooms
- Use of extension cords, switch-controlled outlets, or non-dedicated circuits
- Use of single-pane or non-insulated glass in the cellar envelope
- Installation through an exterior wall, into a sealed cavity, or into an unventilated cabinet
- Service performed by anyone other than Wine-R or a Wine-R authorized technician
- Condensate drain not installed to the published requirements (3/8 in ID, continuous downward slope, pump where required)
Pre-validation by Wine-R confirms unit fitment against declared measurements only. The owner or installer is responsible for envelope construction, wall structural assessment, electrical compliance, drainage routing, and ongoing operating conditions. Wine-R is not liable for incidental, consequential, special, or indirect damages, including damage to property or to the contents of the wine cellar, arising from installation, site conditions, or operating environment. See the Terms of Sale.
About this guide
This guide is built and reviewed by the Wine-R engineering team. Wine-R specializes in through-the-wall wine cellar cooling and has supported replacements that reuse an existing opening across North America. Recommendations follow the WR2500 manufacturer specifications and standard residential building-science references.
See if it fits your cellar
A small wine room makes a good wine cellar when it is built to hold its conditions and backs onto a conditioned room. If you have your dimensions and know how the walls and floor are built, the BTU calculator gives you a sizing starting point, and the compatibility check confirms the wall and warm side. To see a through-the-wall unit designed for real homes, see the WR2500.