
Published · Last updated
Basement Wine Cellar: How to Build and Cool One
A basement is a good start for a wine cellar, not a finished one. How to insulate, seal, drain, power and cool a basement wine cellar, step by step, in order.
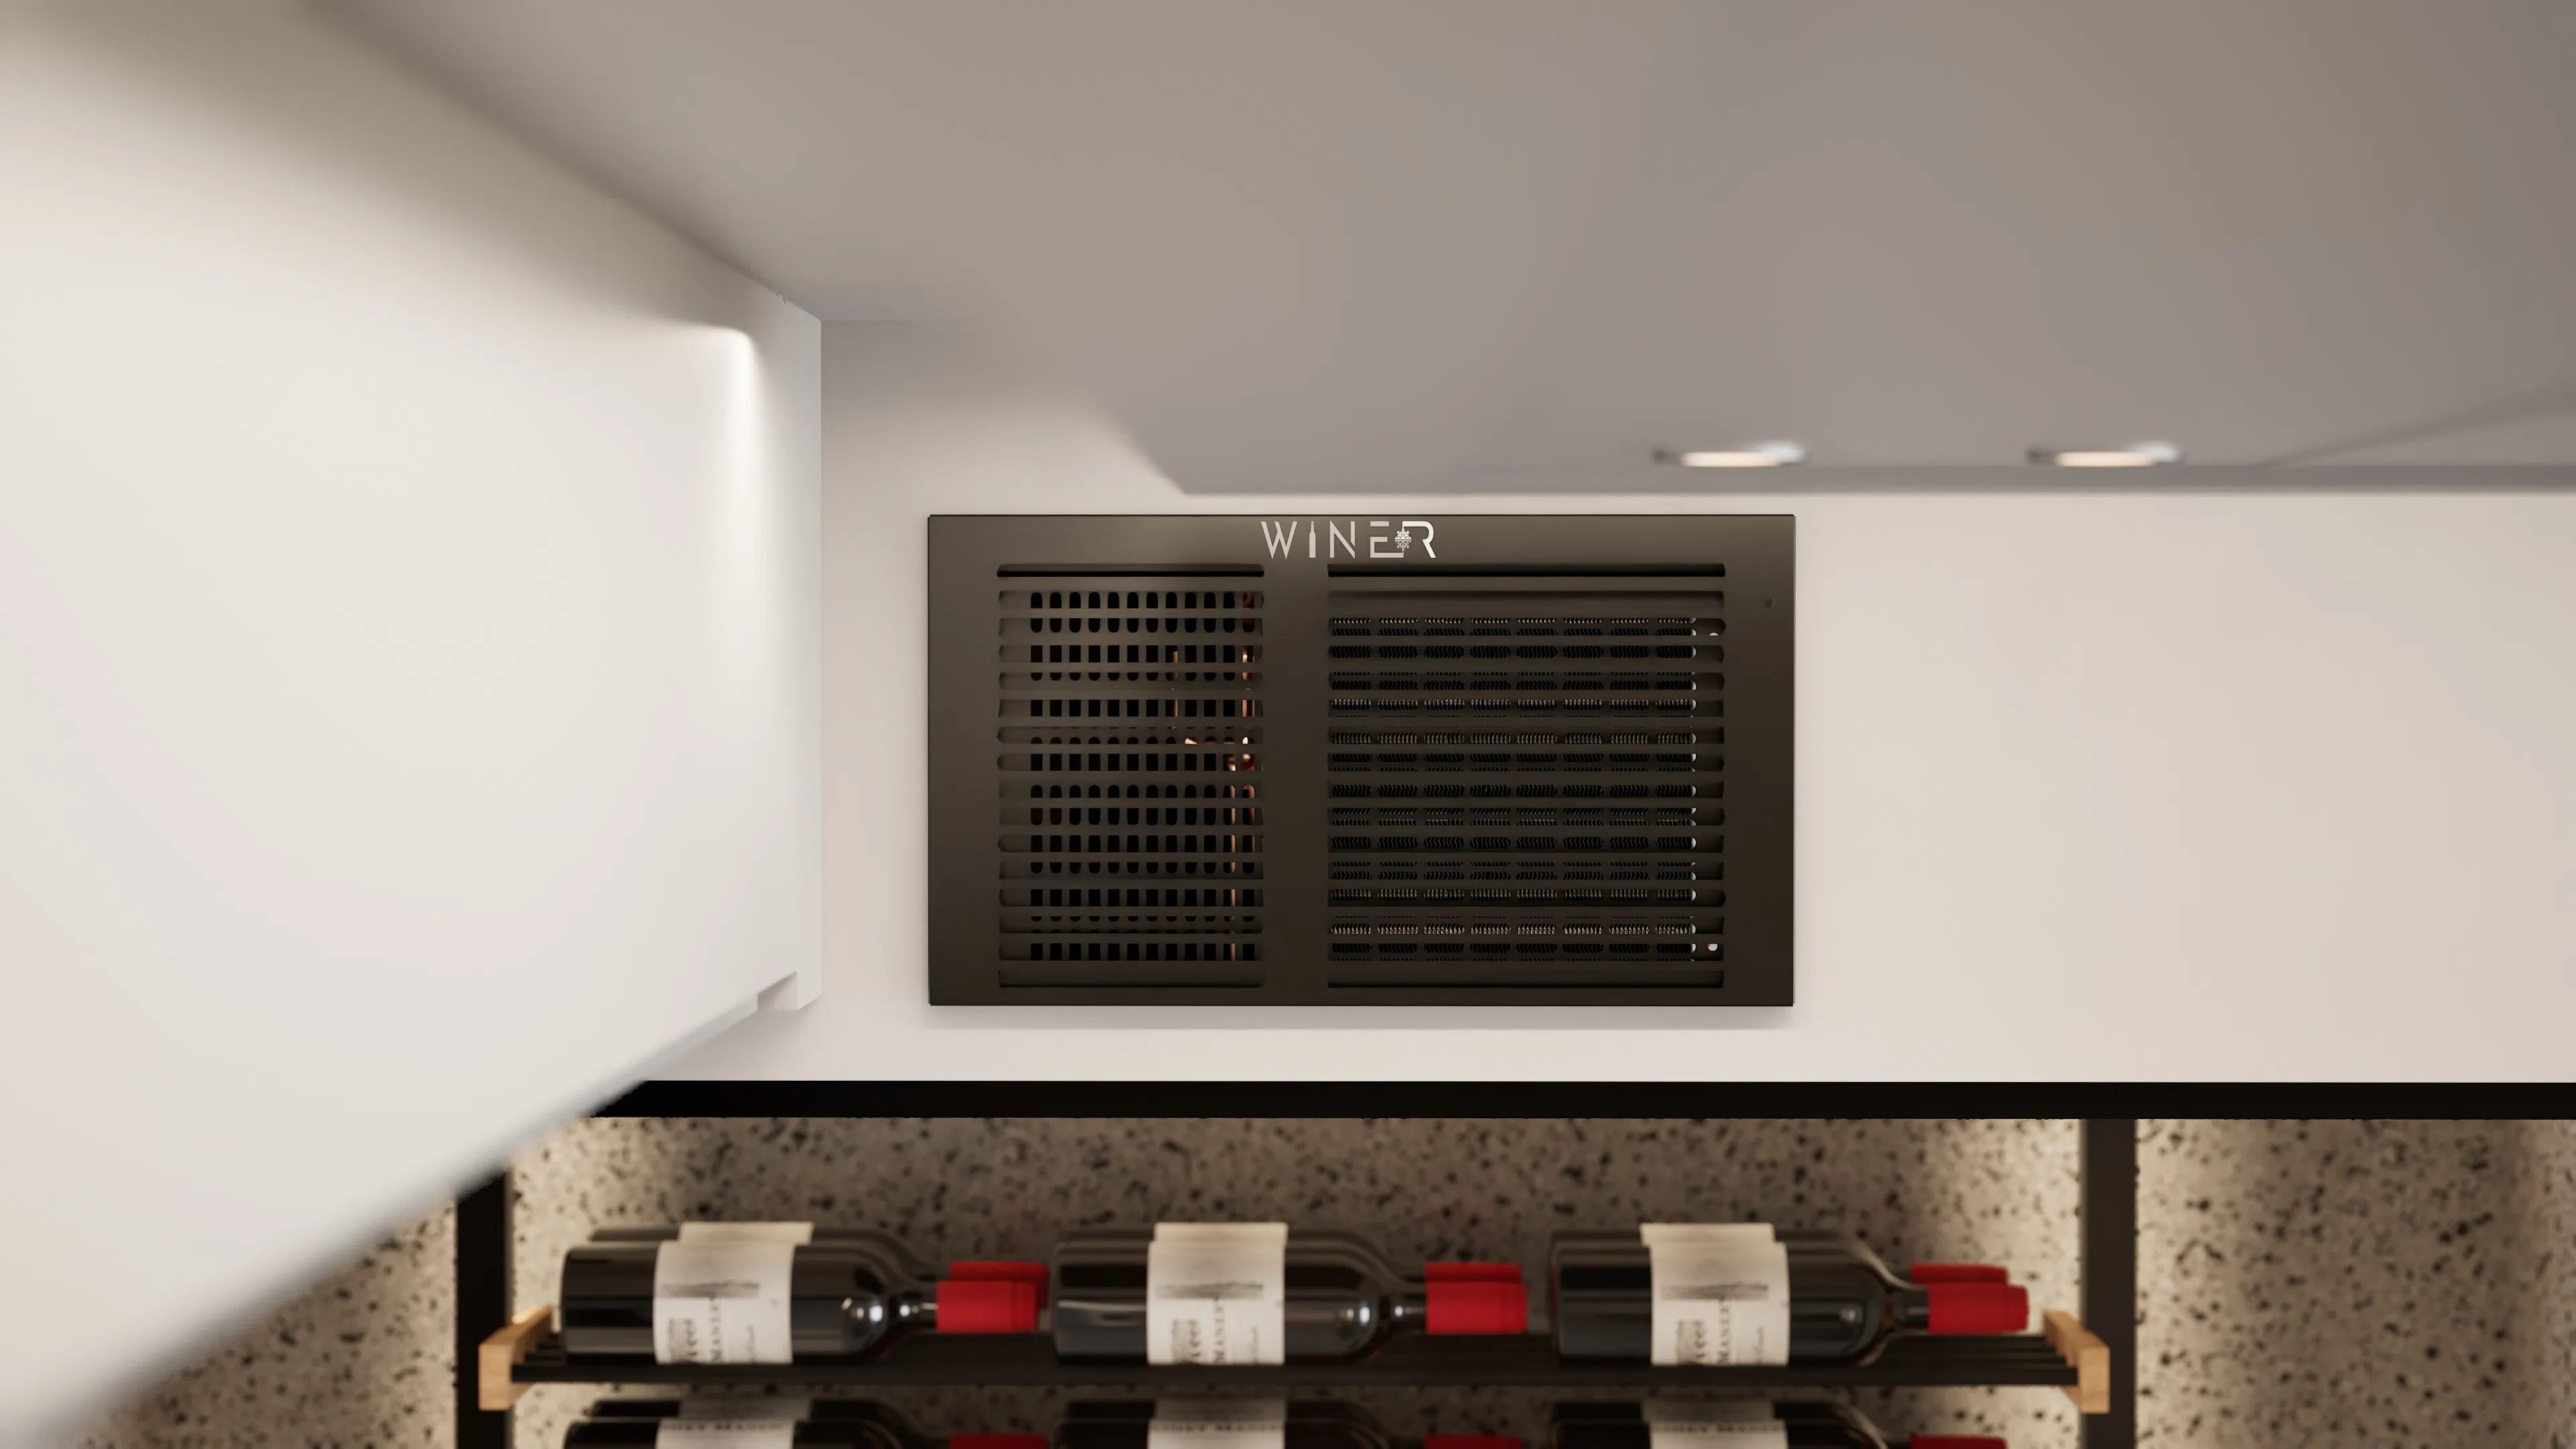
Who this guide is for
Homeowners turning part of a basement into a wine cellar, especially a finished or partly finished basement with heated and cooled living space, and DIY-comfortable owners planning the build in the right order.
Who this guide is not for
Cellars whose only available walls are exterior foundation walls or face an unconditioned crawlspace or garage, and basements with active water problems that have not been fixed yet. The first group points to a ducted or split system; the second needs the water issue solved before any cellar work.
A basement is the best starting point in most homes for a wine cellar, but it is not a cellar on its own: it still needs insulation, a continuous vapor barrier, a sealed door, and a cooling unit sized to the room. Basements run cooler and steadier than the floors above, which makes the cooling job smaller. They also swing with the seasons, hold moisture in the concrete, and share space with furnaces, so an unfinished corner rarely holds proper conditions year round.
A basement cellar is one of the more straightforward builds in a house. The short version: pick a spot with an interior wall that backs onto a heated and cooled room, fix any water issue first, frame and insulate the walls and floor to R-20 or better, wrap the room in a continuous sealed vapor barrier, hang an insulated door with gaskets and a sweep, plan the drain and a dedicated 115V circuit, then size the cooling unit to the room's heat load. This guide walks through each step in the order it happens on site, with a checklist at the end. For the wider picture of cellar framing and finishes, see the wine cellar construction guide.
Why a basement helps, and where it falls short
A basement has two real advantages. The surrounding earth keeps it cooler and steadier than the rooms above, and unfinished space lets you build the cellar envelope properly instead of retrofitting a finished room.
The limits are just as real:
- Seasonal swings. A basement that feels cool in winter often warms up through summer. A wine cellar needs steady conditions in every season.
- Moisture. Concrete walls and slabs carry ground moisture into the room. Without a planned barrier, that moisture ends up in the insulation or on the bottles.
- Heat sources. Furnaces, water heaters, and laundry machines add heat to the space around them.
- Air leakage. Pipes, ducts, wiring, and the rim joist all let air move in and out of a room that should be sealed.
So the basement gives you a head start. The build still does the rest.
Where to put the cellar in your basement
Location decides how easy the cooling will be, so settle it before any framing.
Choose a spot with an interior wall next to a conditioned room. A through-the-wall cooling unit moves heat out of the cellar into the room on the other side of the wall. That room has to be heated and cooled and have enough open air to carry the heat away. A finished family room, a hallway, or a utility area that is part of the conditioned house all work. The unit needs at least 12 inches clear in front of the grille on the cellar side and at least 18 inches clear in front of the exhaust on the warm side.
Do not plan to exhaust through a foundation wall or into an unconditioned space. A through-the-wall unit installs through an interior wall only. Exterior walls, sealed cavities, unventilated closets, crawlspaces, and unheated storage rooms have no way to take the heat, and the unit will run hot and shut down. If the only walls available face outside or an unconditioned space, a ducted or split system that moves heat to a suitable location is the better path. The through-the-wall vs ducted split comparison covers that decision.
Use foundation walls for the cellar, not for the cooler. It is common for one or two cellar walls to be the concrete foundation. Insulate and seal them like the rest of the room, and put the cooling unit in a framed interior wall.
Think about the drain and the panel now. A floor drain or sump nearby keeps the condensate line simple, and a short run to the panel keeps the dedicated circuit simple.
What your basement's condition means for the cellar
Insulate walls and floor to R-20
The manual for the WR2500 requires R-20 or better on all walls and the floor of the wine room, for new builds and retrofits alike. In a basement, the floor is the part most often missed. An uninsulated slab is one of the most common sources of added heat and moisture in a cellar, and it raises the load the cooling unit has to carry every hour of the day.
For framed interior walls, the usual approach is a standard stud wall filled to R-20 or better. For foundation walls, the right assembly depends on your climate and local code; many builders place rigid foam against the concrete and frame inside it, and a local builder can confirm the best detail for your area. The ceiling counts too. The R-20 insulation guide explains what the number means and how to reach it.
Add a continuous vapor barrier on the warm side
A wine cellar is cooler than the rest of the house, so moisture in the warmer air tries to move into the cellar walls and condense there. A continuous, sealed vapor barrier on the warm side of the insulation stops that. In a basement, that applies to the walls, the ceiling, and the floor.
Continuity is what makes it work. Seal the barrier at every corner, outlet, light box, pipe penetration, and around the door frame, using sealant or expanding foam rated for vapor barrier use. Gaps at penetrations are where most cellars lose both cold air and humidity control. The vapor barrier guide covers placement and sealing in detail.
This also matters for humidity. A cooling unit like the WR2500 does not control humidity; the room's construction does. Target cellar humidity is typically 55 to 70%. It comes from the construction, and a separate humidifier or dehumidifier is the tool if the room does not hold it.
Seal the door and every penetration
The door is the largest opening in the room. Use an insulated door with tight gaskets on all sides and a sweep at the bottom, and adjust the latch and hinges so it closes firmly. If the door or a viewing panel has glass, it must be double-pane sealed glass; single-pane glass is not permitted with the WR2500 and voids the warranty.
Before drywall goes up, seal every gap: outlets, switches, light fixtures, pipes, and the joint where the wall meets the slab. Once the room is closed, turn off the lights inside and look for light leaking in. Light gets through where air does.
Plan the drain and the power
Drain. The WR2500 requires a drain line. The condensate drain is an installation requirement: a 3/8 in ID line on a continuous downward slope, with a pump where the run exceeds about 5 ft or has to rise. Plan the route at the same time as the opening. The unit takes a 3/8 inch inside-diameter hose that must run on a continuous downward slope to a floor drain, sump, or other approved drain, with no sags or traps where water can sit. If the run is longer than about 5 feet or has to rise, use a condensate pump and have a pro handle the routing. In a basement, a floor drain is often close.
Power. The unit runs on a dedicated 115V/60Hz/15A circuit, with nothing else on it. No extension cords, no switch-controlled outlets, and no shared loads; these are warranty conditions, not suggestions. The power cord is about 6 feet long, so place the receptacle on the warm side within reach of the unit. Have an electrician run the circuit while the walls are open.
Size the cooling unit by heat load
Size comes from the room, not the bottle count. Volume, insulation, sealing, glass area, and what sits beyond each wall set the heat load, and a well-built basement cellar asks much less of a unit than the same room left half finished.
The WR2500 delivers 2,337 BTU/h nominal and is rated for cellars up to 700 ft³ (19.8 m³) with glass walls or up to 900 ft³ (25.5 m³) fully enclosed. Within that envelope, it is a good match for a typical basement cellar. Beyond it, or in a room that is mostly glass, the load needs a direct calculation and possibly a larger system. Bigger is not safer: an oversized unit short-cycles and holds conditions less evenly. The sizing guide and the BTU calculator walk through the numbers.
The unit fits interior walls from 5.5 to 14 inches thick, which covers a standard framed wall with room to spare. For thicker walls, build a framed soffit or extension. If the wall is load-bearing, hire a professional to frame the opening.
Basement wine cellar build-order checklist
- Check for water. Fix any leaks, seepage, or drainage issues before building.
- Pick the location. Interior wall shared with a conditioned room for the cooling unit; foundation walls are fine for the rest of the cellar.
- Calculate the heat load. Use the room's dimensions, insulation, and glass to size the unit before you buy.
- Frame the walls and ceiling. Frame the cooling unit opening now, and any soffit above the door.
- Rough in electrical and drain. Dedicated 115V/60Hz/15A circuit on the warm side; drain path with a continuous downward slope, or a condensate pump.
- Insulate walls, ceiling, and floor. R-20 or better everywhere, including the slab.
- Install the vapor barrier. Continuous, on the warm side, sealed at corners, boxes, pipes, and the door frame.
- Close the walls. Drywall or paneling over the sealed barrier.
- Hang the door. Insulated, with gaskets and a sweep; double-pane sealed glass only.
- Install the cooling unit. Level, sealed around the perimeter, clearances open on both sides, drain connected and tested.
- Verify before loading wine. Cold air on the cellar side, warm air leaving on the room side, drain flowing, no light or air leaks.
The installation page has the full step-by-step for the unit itself.
Frequently asked questions
Rarely year round. Basements warm up through the seasons and pick up heat from mechanical equipment. A sealed, insulated room with a cooling unit holds steady conditions in every season.
Fix any water issue, frame the room, rough in a dedicated circuit and drain, insulate walls, ceiling, and floor to R-20, install a continuous vapor barrier on the warm side, hang an insulated door with gaskets and a sweep, then install a cooling unit sized to the room's heat load.
No. A through-the-wall unit installs through an interior wall only and exhausts into a conditioned room. Foundation walls, crawlspaces, and unconditioned storage rooms cannot take the heat. If no suitable interior wall is available, a ducted or split system is the better fit.
Yes. Concrete slabs conduct heat and moisture into the room. The floor needs R-20 or better with a continuous vapor barrier, the same as the walls.
For the WR2500, a dedicated 115V/60Hz/15A circuit with nothing else on it, and no extension cords or switch-controlled outlets.
About this information
This content is general information for owners evaluating wine cellar cooling options. It is not a diagnosis of any specific unit and not a recommendation to repair or replace any product. Wine-R is not affiliated with, sponsored by, or endorsed by any other manufacturer referenced on this page. All third-party product names and trademarks are the property of their respective owners and are used for identification and compatibility reference only. Third-party specifications come from publicly available manufacturer information and may change without notice. Compatibility with an existing opening does not by itself confirm suitability: cooling capacity must be validated against the cellar's size and construction, and the WR2500 requires a condensate drain line and a dedicated 115V/60Hz/15A circuit. Fit and sizing are confirmed through Wine-R's pre-validation process before any unit ships.
Liability and warranty considerations
The WR2500 is sold under Wine-R’s Terms of Sale and Limited Warranty. Wine-R’s warranty covers unit parts for two years from the original purchase date.
Warranty coverage is voided by, among other conditions:
- Damage from improper installation, poor insulation, or oversized or unsealed rooms
- Use of extension cords, switch-controlled outlets, or non-dedicated circuits
- Use of single-pane or non-insulated glass in the cellar envelope
- Installation through an exterior wall, into a sealed cavity, or into an unventilated cabinet
- Service performed by anyone other than Wine-R or a Wine-R authorized technician
- Condensate drain not installed to the published requirements (3/8 in ID, continuous downward slope, pump where required)
Pre-validation by Wine-R confirms unit fitment against declared measurements only. The owner or installer is responsible for envelope construction, wall structural assessment, electrical compliance, drainage routing, and ongoing operating conditions. Wine-R is not liable for incidental, consequential, special, or indirect damages, including damage to property or to the contents of the wine cellar, arising from installation, site conditions, or operating environment. See the Terms of Sale.
About this guide
This guide is built and reviewed by the Wine-R engineering team. Wine-R specializes in through-the-wall wine cellar cooling and has supported replacements that reuse an existing opening across North America. Recommendations follow the WR2500 manufacturer specifications and standard residential building-science references.
See if it fits your cellar
A basement does part of the work for you. The insulation, the barrier, the door, the drain, and a correctly sized unit do the rest. If you have your cellar's dimensions and know how it will be built, the BTU calculator gives you a sizing starting point in about a minute. To see a through-the-wall unit designed for rooms like this, see the WR2500.