

WR2500
Installation
& Care
A proper wine cellar is built as a system. When construction, sizing, and airflow work together, the WR2500 runs and keeps steady cellar conditions without major renovation. This page shows how to install it, what to check, and how to care for it so results match expectations.
Through‑the‑wall format — North‑American support — 2‑year parts warranty
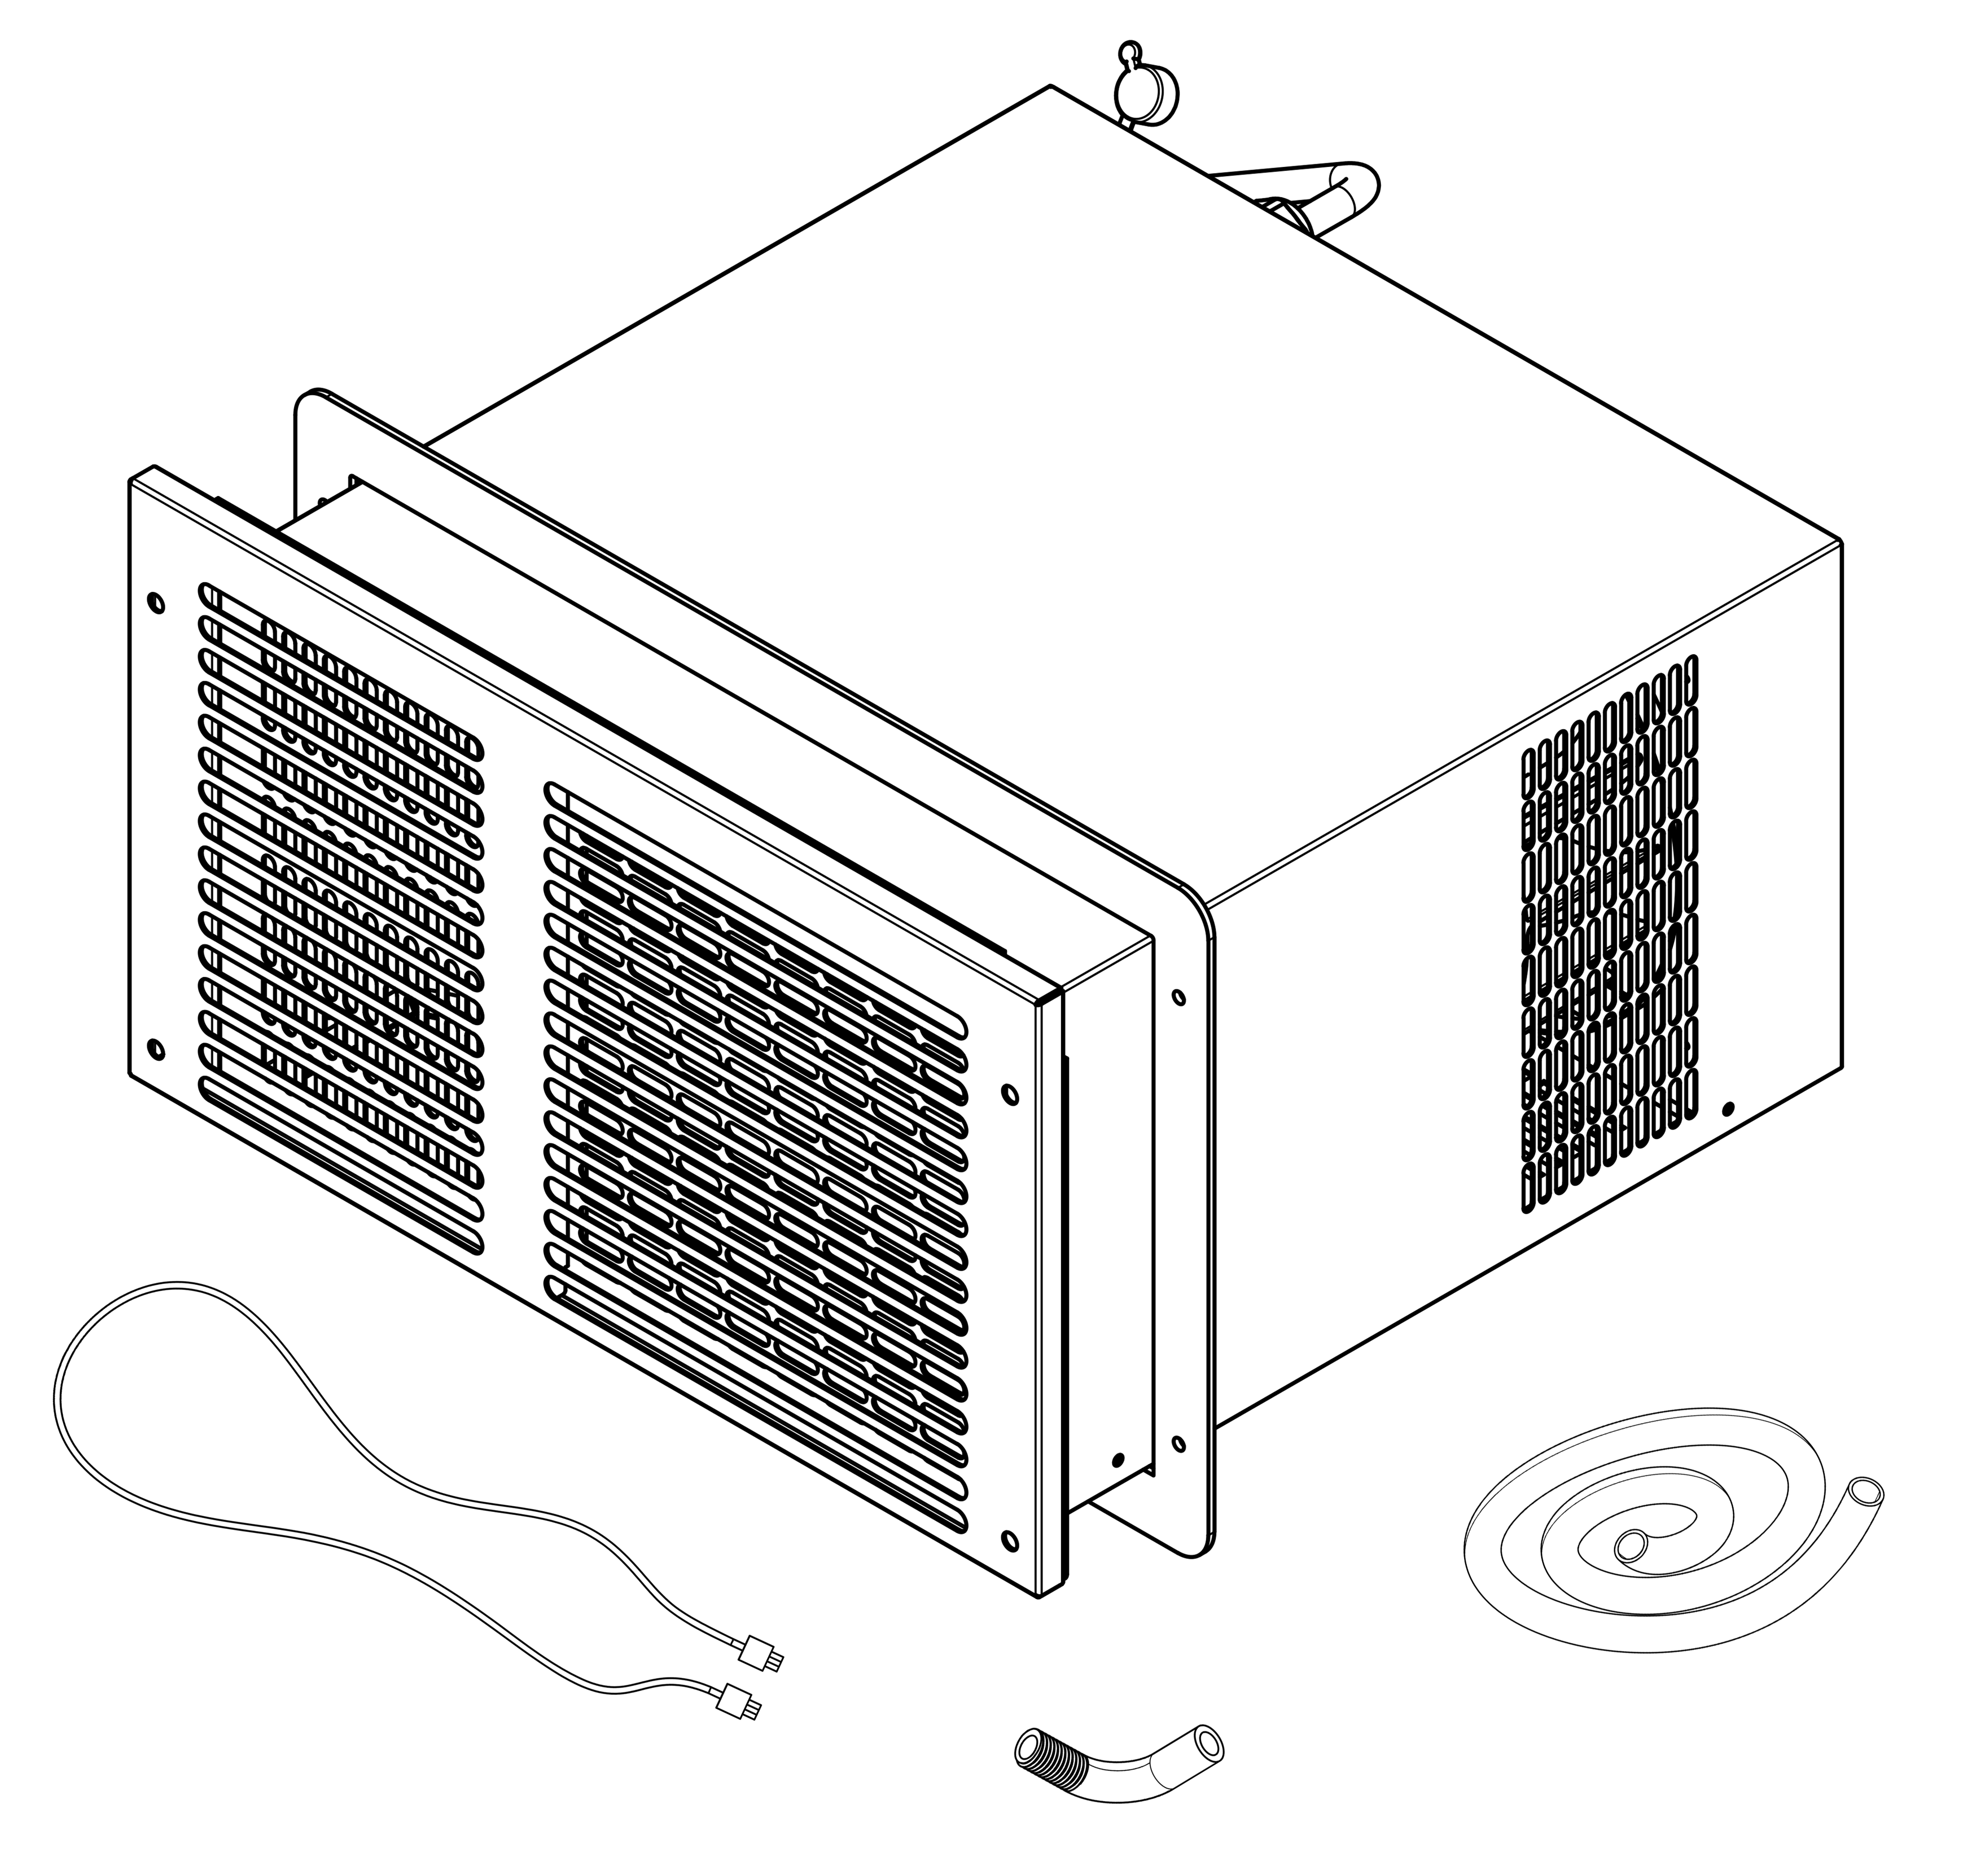
What’s in the box
- WR2500 unit
- Mounting frame & finish grille
- Wall controller (5‑ft cable)
- Condensate drain kit
- Quick‑start info
- Support contacts
Common add-ons
- Longer controller runUse a same‑type Ethernet cable if 5 ft won’t reach your ideal wall location.
- Vibration pads or decoupling shimsIf you need extra acoustic comfort in very quiet spaces.
Before you start you must have

Insulation & sealing
Plan for R-20 or higher in walls and ceiling, a solid insulated door, and tight weather seals. This is what lets a cellar hold conditions with low noise and sensible energy use.

Room design
Showcase looks are possible with planning. If you include glass, choose an insulated double-pane or IGU, minimize area, keep seals perfect, and confirm the plan with us before purchase.

Room sizing
WR2500 is right-sized for rooms up to 700 ft³ when the envelope is built correctly. Measure L x W x H and run the BTU Calculator. We will sanity-check your numbers before you buy.
Tools
- Stud finder
- Level
- Pencil
- Drywall/wood saw
- Small bucket
- Drill & bits
- Screwdriver
- Pliers
- Utility knife
- Safety gear
Installation - 3 Clear steps
~1 hour for a pro
Choose the wall and position
Always cut power before wiring/connecting.
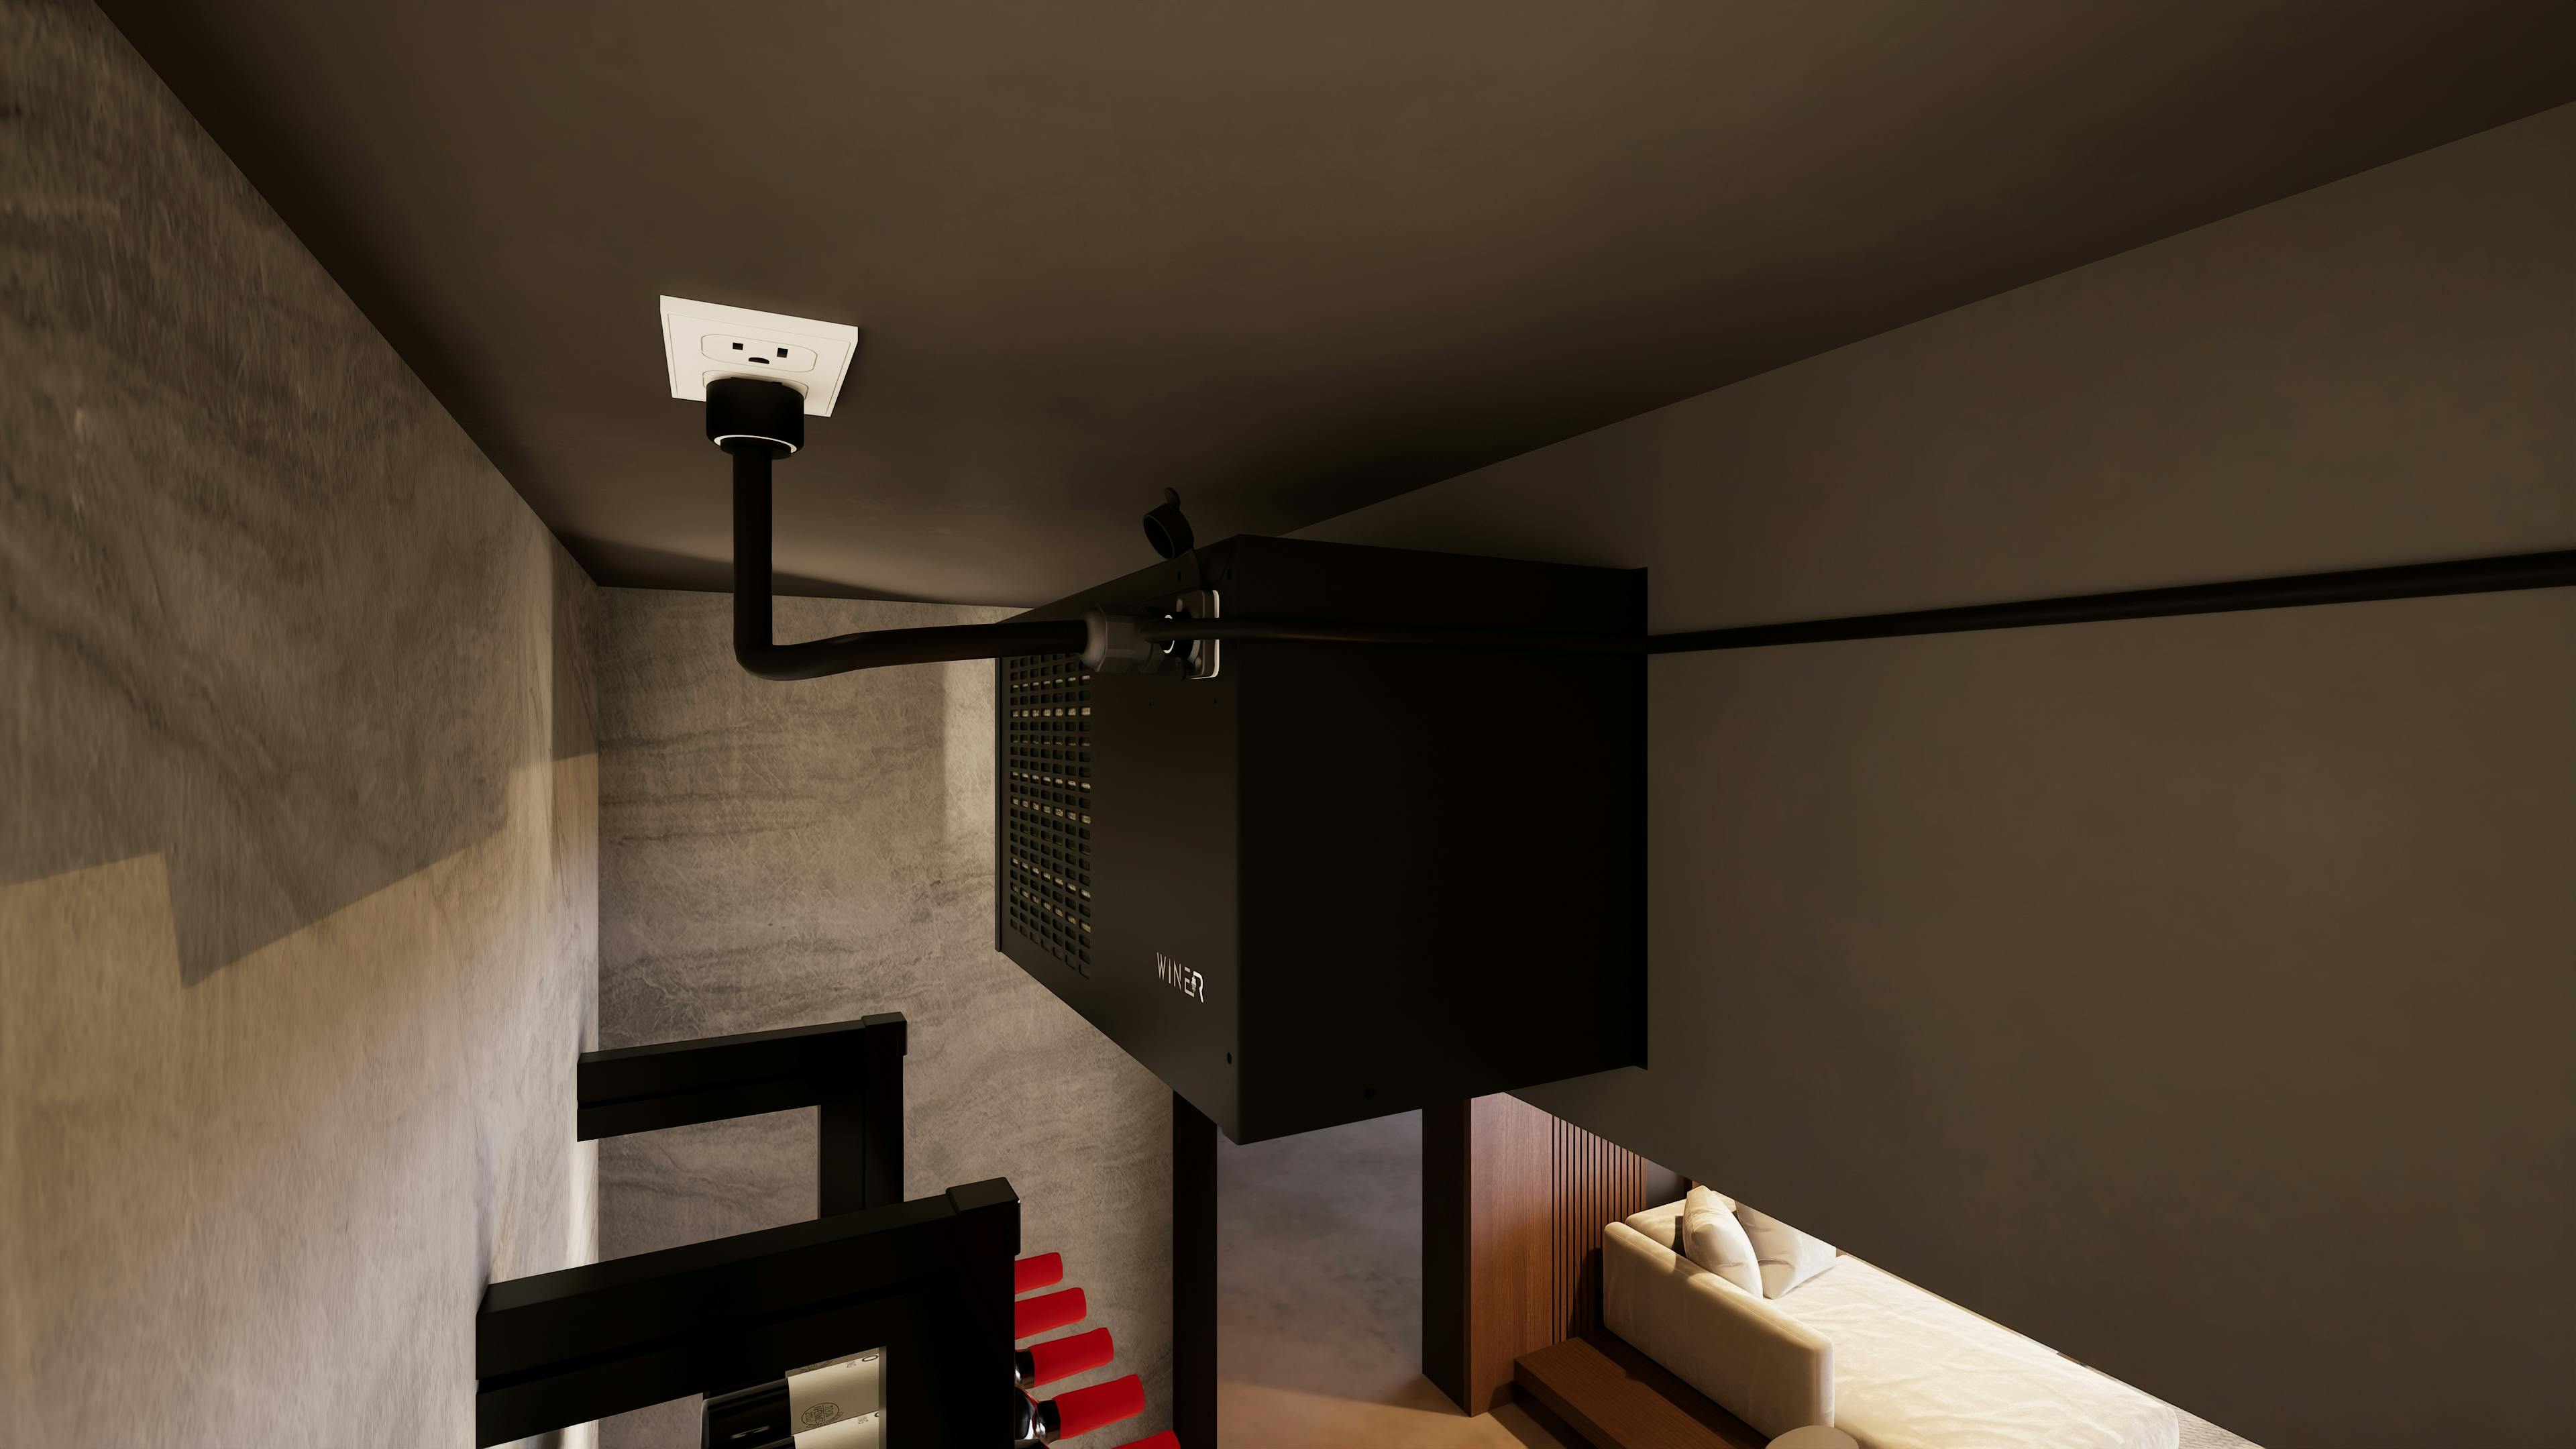
- Through-the-wall means the unit sits in a cutout separating the cellar side from an adjacent room. Keep the front intake and outlet clear, and keep the rear exhaust unobstructed. Do not box in the back with a tight cabinet.
- Avoid corners or shelves that blow cold air directly on the controller or sensor.
- Pick a location where the drain line can run downward to a safe discharge.
It is the owner’s responsibility to verify room sizing before purchase using the BTU Calculator. Units purchased for oversized or improperly constructed rooms are not eligible for return or exchange.
By installing this product, you acknowledge that you have read and agree to Wine-R’s Terms of Sale and Warranty Terms.
Step 1 - Measure & cut
To avoid water near the base, plan a continuous downward drain slope.
- Mark the opening using the cutout template in the User Guide. Above door cutout is 15 5/8″ × 9 1/4″ (397mm x 235mm).
- Check for studs and electrical.
- Cut the opening and vacuum dust so the frame seals cleanly.
Step 2 - Insert & secure
Verify level during install to keep the unit level.
- Fit the mounting frame square and level and fasten per the User Guide.
- Slide the unit into the frame and confirm it sits level.
- Route the condensate drain with a gentle, continuous fall with no kinks and no upward loops. Test by pouring a cup of water into the drain pan and confirm smooth flow.
- Attach the finish grille on the cellar side.
Step 3 - Connect & power
The through-the-wall format keeps installs simple, and the essentials ship in the box.
- Mount the wall controller at an easy-to-read height, away from the direct supply airstream. Connect using the supplied cable or a same-type Ethernet extension if you need extra reach.
- Plug the unit into a grounded outlet.
- Power ON with the controller.
Operations
First‑time start and everyday use

First‑time start & commissioning
Add thermal mass: Place bottles or water jugs so the room has enough mass to stabilize temperature. New, empty rooms can show long run times or odd readings.
Set temperature: Choose a typical cellar setpoint and let the system run for 24 hours. Expect smooth, steady operation consistent with cellar cooling.
Check the drain: Verify there is no water near the base and that the line drips where it should.
Listen for noise: It is quiet by design. If you want numbers, measure at 1 m with a phone sound meter and note room temperature.
Confirm cycling: After the first day, the unit should cycle normally. If it runs nonstop below setpoint, move the controller or sensor out of the supply airstream and add thermal mass, then observe again.
Everyday use & control
1. Set your cellar temperature: Tap On or Off, nudge up or down, and check status at a glance.
2. A short start delay: Protects the compressor and automatic defrost maintains performance.
3. Clock and timer are included: Controller cable supplied is 5ft. Extended runs are available if you need more reach.
Care & maintenance
Every month
- Vacuum dust from the front grille.
- Inspect the drain line and confirm steady drip (no kinks, no backflow).
- Quick wipe of the faceplate and controller.
Every 3–6 months
- Double‑check door seals and room tightness; re‑seal if needed.
- Look behind the unit (exhaust side): clear boxes or clutter so warm air escapes freely.
- Review your setpoint; use a digital thermometer/hygrometer to spot big swings.
Once a year
- Full visual check, verify unit level, confirm drain slope, tighten mounting screws if needed.
If you suspect airflow issues, contact us before attempting coil cleaning—we’ll advise the safe method for your install.
Good habits
- Avoid frequent power cycling.
- If you move the controller, keep it out of the cold supply stream.
Troubleshooting Quick Help
This indicates a temperature probe issue. Turn the unit OFF, unplug power and the controller cable. If you are comfortable, remove the front grille and look for the thin wire probe near the evaporator fan. If it slipped out, gently place it back in the airflow area. If it is cut or pinched, stop and contact a tech for calibration and replacement. Always power off before opening the panel.
Two common causes in new installs are low thermal mass and a controller or sensor mounted in the cold airstream. Add bottles, move the controller or sensor out of direct airflow, then observe for 24 hours.
Check drain slope and level. Confirm the unit is level and the drain has a continuous downward path with no upward loops. Pour a small cup of water in the pan to test flow.
Try a controller reset: turn unit OFF on the controller → unplug the unit and controller cable → wait 5 min → plug back in → turn ON and set your temperature. Monitor until it cycles normally.
The WR2500 is quiet by design, not silent. Compare with a phone sound meter at 1 m with the fan on high, note room temperature, and share the reading. We can suggest placement or decoupling tweaks if needed.
When you contact support, send these (it speeds everything up)

Required Photos
Full view of the cellar, close-up of the installed unit, drain line, controller display.

Room Dimensions
Dimensions of the room in the
format L x W x H.

Serial number
The full serial number is
on the rear label.

Date & Invoice
The purchase date & Invoice
from the retailer

Setpoint & Temperature
Your setpoint and the temperatures you’re seeing.
Where we support?
Across Canada and the United States.
*All our units are backed by a 2‑year parts warranty.
Returns/Workshop service
When requesting return/exchange, we’ll usually ask for the unit only.
*Keep the grille, frame, drain kit and controller unless we say otherwise, as it shortens turnaround.